
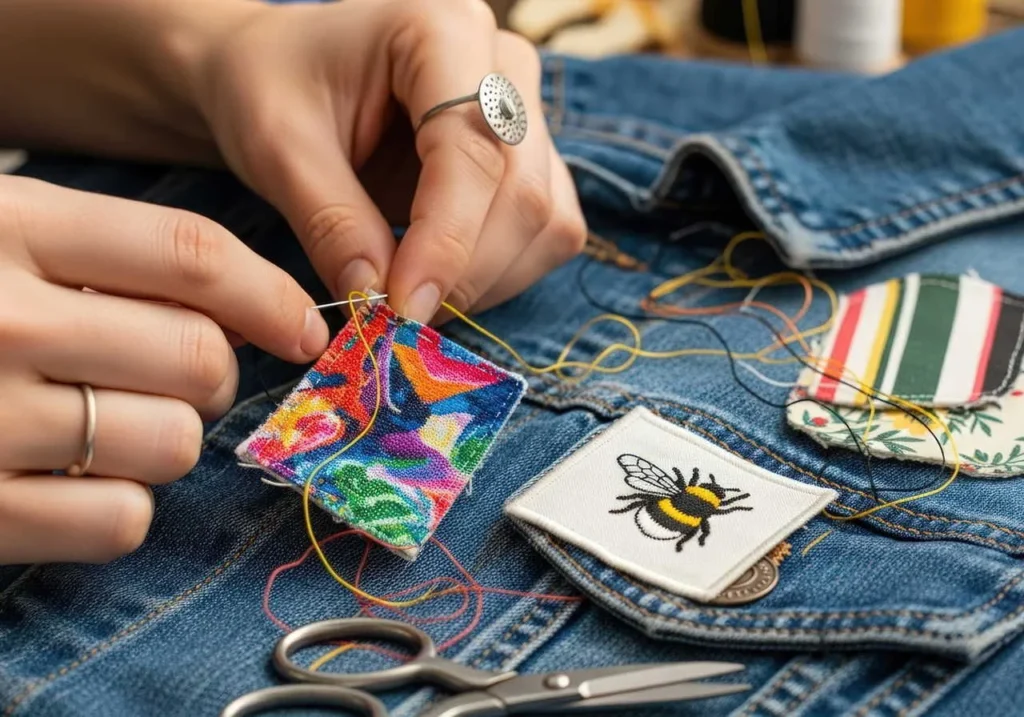
Do you want to make your own patches for a jacket, a bag, a team or a small business? You have more options than most people think. You can stitch one by hand in an evening, print one at home, or have a professional patch made in your exact design. This guide compares 5 easy ways to make your own patches, with the cost, time and durability of each, so you can choose the method that fits your project.
Which Way to Make Your Own Patches Is Best?
The best way to make your own patches depends on three things: how many you need, how long they must last, and how detailed the design is. One patch for yourself is easy to make by hand. Twenty matching patches for a team, or a logo with fine detail, is a job for a professional.
| Method | Best for | Effort | Durability |
|---|---|---|---|
| 1. Hand embroidery | One personal patch | High | Good |
| 2. Felt cut-out | Simple shapes and kids’ projects | Low | Medium |
| 3. Printable iron-on | Flat, colorful designs | Low | Medium |
| 4. Embroidery machine | Many patches, if you own a machine | High | Good |
| 5. Custom order | Teams, brands and detailed logos | Very low | Excellent |
1. Make Your Own Patches by Hand Embroidery
Hand embroidery is the classic way to make your own patches. You draw the design on a piece of sturdy fabric, such as twill or canvas, and stitch it with embroidery thread.
- What you need: fabric, embroidery thread, a needle, a hoop and small scissors.
- How it works: trace your design, fill the shapes with satin stitch, outline them with backstitch, then cut the patch out and finish the edge with a tight whipstitch.
- Good for: one special patch with a personal, handmade look.
- Watch out: it is slow, and every patch comes out a little different, so it is not practical for matching sets.
2. Make Your Own Patches From Felt
Felt is the easiest material when you want to make your own patches with no special skills. Cut a base shape and a few smaller shapes from colored felt, layer them, and stitch or glue them together. Finish with a simple running stitch around the edge.
- Good for: simple shapes, school projects and quick crafts.
- Watch out: felt wears and fuzzes with washing, so it suits items that are not washed often. Fine text is hard to cut cleanly, so keep the design bold.
3. Make Your Own Patches With Printable Iron-On Sheets
You can print a design on printable fabric or transfer paper, iron it onto twill, and cut it out. This method lets you make your own patches in full color, including photos and gradients.
- Good for: flat, colorful artwork that thread cannot copy.
- Watch out: the surface is a print, not stitched thread, so it does not have the raised texture of an embroidered patch, and it can fade or crack with many washes. Cut the edges carefully, and seal them with a few stitches so they do not fray.
4. Make Your Own Patches With an Embroidery Machine
If you own an embroidery machine, you can make your own patches in batches. The catch is the design file. A machine needs a stitch file, and turning a normal logo into stitches is called digitizing. Poor digitizing is the most common reason a home-made patch looks messy. Our page on embroidery digitizing explains what this involves.
- Good for: people who already own a machine and enjoy the process.
- Watch out: machines, stabilizer and software are an investment, and it takes practice to get clean edges.
5. Make Your Own Patches With a Custom Order
The fastest way to get professional results is to design your patch and have a manufacturer make it. You keep full control of the design, and you get strong, uniform patches that look the same from the first piece to the last.
Oceans Patches makes embroidered, PVC, woven, chenille, leather and sublimated patches in your own design. The minimum order is 5 pieces, so you can order a small batch without buying in bulk. Every quote includes a free mockup before production, usually within 12 to 24 hours, and nothing is made until you approve it. Standard production takes 12 to 14 days after approval, with a faster 7 to 10 day option, and shipping is free worldwide, including the USA.
- Good for: teams, businesses, events, uniforms and any design with detail.
- Watch out: it takes a little planning, so use the free tools below to get the design right first.
Plan Your Design Before You Make Your Own Patches
Whichever method you choose, a good design matters more than the material. Our free custom patch tools help you plan before you spend anything:
- Name Patch Maker: preview a name patch with your font, shape and colors.
- Patch Size Finder: get a starting size for a hat, chest, sleeve, bag or jacket back.
- Iron-On Guide: check whether your fabric is safe for an iron-on patch.
For more design advice, read our guide on how to design a custom patch, and our custom patch size guide.
6 Tips for Better Results When You Make Your Own Patches
- Keep the design simple. Bold shapes and thick lines work best in every method.
- Avoid tiny text. On an embroidered patch, letters should be at least about 0.25 inch (6 mm) tall.
- Use strong contrast. Light text on a dark base, or the reverse, stays readable from a distance.
- Limit the colors. Three or four colors look cleaner than ten.
- Finish the edge. A tight border stitch stops fraying and gives a neat look.
- Choose the right backing. Sew-on is the strongest, iron-on is quick, and Velcro makes a patch removable. See our guide to the best backing for custom patches.
How to Attach Your Patch
When your patch is ready, attach it with the method that suits the fabric. Read our steps for how to sew on a patch for the strongest hold, or our guide on how to iron on patches for a faster result. If you want to learn about the craft behind stitched designs, you can read more about appliqué.
Common Mistakes When You Make Your Own Patches
- Starting with a design that is too detailed. Fine lines disappear in thread.
- Skipping a test. Always test a small patch first, especially with iron-on sheets.
- Using weak fabric. Thin fabric puckers and tears. Choose twill or canvas.
- Forgetting the edge. An unfinished edge frays after a few washes.
Get Your Own Patches Made With a Free Mockup
If you would rather skip the trial and error, Oceans Patches can turn your idea into a professional patch. The minimum order is 5 pieces, and every quote includes a free mockup before production.
Request your free mockup or email sales@oceanspatches.com with your design, size and quantity, and we will recommend the best patch type for your project.