
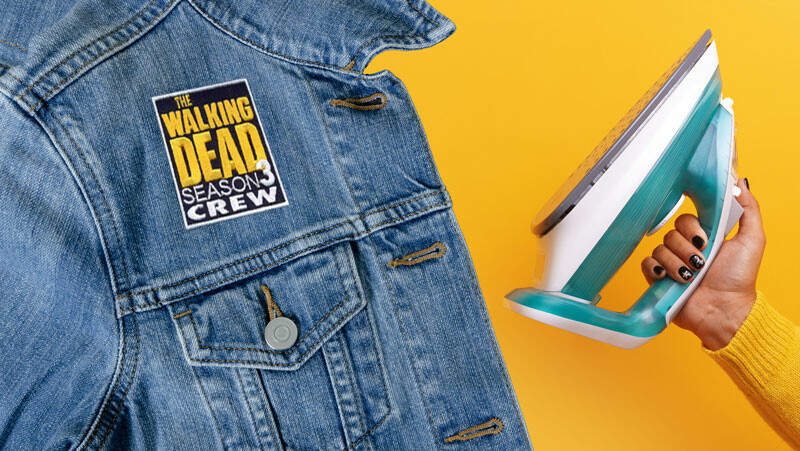
Iron on embroidery patches are one of the easiest ways to add a logo, a badge or a design to clothing. They have a heat-activated backing, so you do not need a needle and thread to attach them. But a patch that is applied the wrong way can peel at the edges after a few washes, and that is where most people go wrong.
This guide shows you how to apply iron on embroidery patches in 5 steps, which fabrics they suit and how to make them last.
What Are Iron on Embroidery Patches?
Iron on embroidery patches are stitched thread designs with a layer of heat-activated glue on the back. When you press them with heat, the glue melts into the fabric fibers and bonds the patch in place.
They are popular because they are quick to apply and need no sewing skill. You can use them on:
- Jackets and hoodies
- Caps and bags
- Denim and cotton shirts
- Uniforms for light use and events
To see the full range of designs, visit our embroidery patches page.
Which Fabrics Work With Iron on Embroidery Patches?
Iron on embroidery patches hold best on fabrics that can handle heat:
- Good: cotton, denim, canvas and cotton-polyester blends
- Be careful with: thin polyester and stretchy sportswear, where the bond can weaken
- Not recommended: nylon, leather, waterproof and heat-sensitive fabrics
If your item is made of one of these, a sew-on or Velcro backing is the safer choice. Our guide to iron-on vs sew-on patches explains how to decide.
Step 1: Prepare the Fabric
Start with a clean, dry and flat surface. Wash and dry the item first, but do not use fabric softener, because it can stop the glue from bonding. Iron out any wrinkles where the patch will go.
Step 2: Position the Patch
Place the patch where you want it, with the glue side down. Check the position from a few steps back, and measure if it must be centered or level with another patch. It is much easier to fix the placement now than after the glue has set.
Step 3: Press With Heat
Cover the patch with a thin cotton cloth. This protects the stitching from direct heat. Then:
- Set the iron to the cotton setting with the steam turned off.
- Press down firmly, without sliding the iron, for about 30 to 45 seconds.
- Use pressure on the whole patch, including the edges.
Different patches and fabrics can need slightly different timing, so follow any instructions that came with your order.
Step 4: Press the Back
Turn the item inside out and press the back of the patch area for another 20 to 30 seconds. This helps the glue bond through the fabric from both sides, and it makes iron on embroidery patches last longer.
Step 5: Let It Cool and Check the Edges
Let the patch cool fully before you touch or move it. Then gently check the edges. If any corner lifts, cover it with the cloth and press again for a few more seconds.
How to Make Iron on Embroidery Patches Last Longer
Even a well-applied patch lasts longer with a little care:
- Wait 24 hours before washing a newly applied patch.
- Wash the item inside out in cold water.
- Avoid very high dryer heat.
- For items that are washed often, add a few small stitches at the corners for extra security.
If you want a patch that stays on for years, such as a work uniform or a team jersey, sew-on backing is usually the best option. You can compare all options in our guide to the best backing for custom patches.
Common Mistakes With Iron on Embroidery Patches
- Skipping the cloth. Direct heat can flatten or damage the stitching.
- Sliding the iron. Press down instead, so the patch does not shift.
- Using steam. Moisture weakens the glue bond.
- Applying to the wrong fabric. Nylon and leather do not suit iron on embroidery patches.
- Washing too soon. Give the glue time to set.
Can You Order Custom Iron on Embroidery Patches?
Yes. At Oceans Patches, we make custom embroidery patches with iron-on, sew-on or Velcro backing, and there is no minimum order. Every quote includes a free mockup, and nothing goes into production until you approve it. If your patches do not match the mockup you approved, we remake them at no cost, and if the remake is still not right, we refund you in full.
For design help, read our guide on how to design a custom patch. If you need a large quantity, visit our bulk orders page. You can also read more about the craft of embroidery.
Get Your Custom Iron on Embroidery Patches
Request your free mockup or email sales@oceanspatches.com with your logo and quantity, and we will recommend the right backing for your item.